
Installing Proxmox on OVH
Overview
This guide covers the installation of Proxmox VE 8.3 on OVH dedicated servers. Since OVH's standard OS templates don't include above Proxmox 7, we'll use IPMI/KVM to perform a custom installation.
Server Requirements
- A dedicated server from OVH's eco or regular ranges
- IPMI access (available on most OVH servers)
- Kimsufi servers: IPMI support varies by model, verify before proceeding
Preparation Steps
1. Download Required Files
- Proxmox VE 8.3 ISO
- Java Runtime Environment (if using Java KVM)
2. Access IPMI Console
- Log into your OVH manager
- Navigate to your server's management page
- Locate and click the IPMI/KVM option:
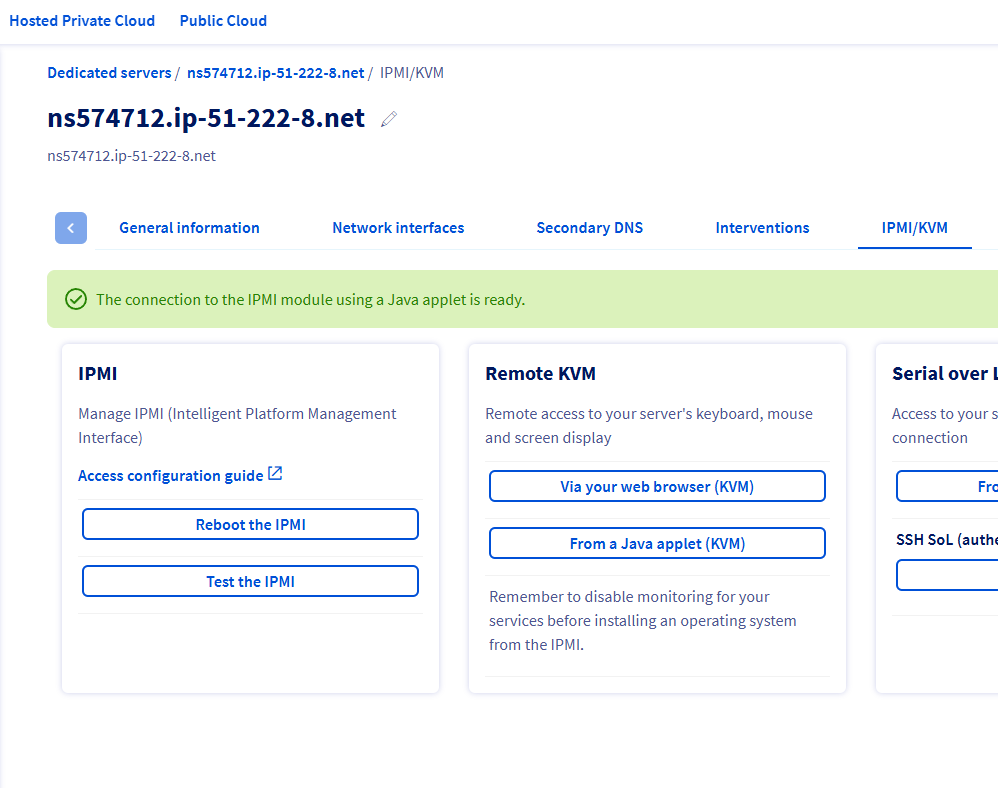
KVM Access Options
- Web KVM: Try this first - easier to use and may support virtual media
- Java KVM: More reliable but requires Java installation
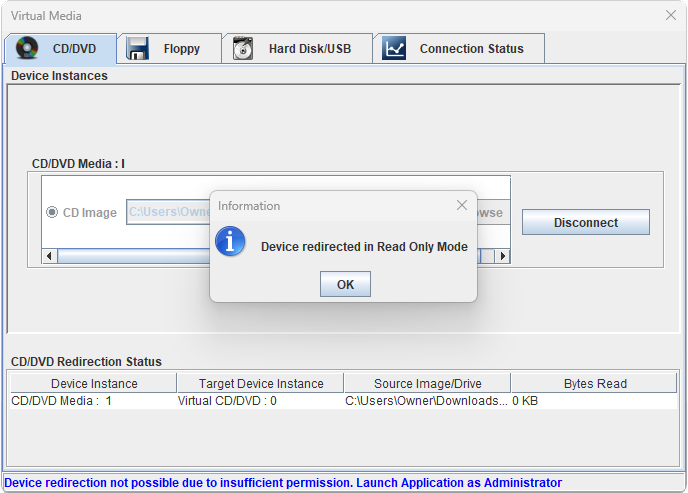
3. Mount Installation Media
Open the Virtual Media tool in your KVM session:

Browse and select your Proxmox ISO:
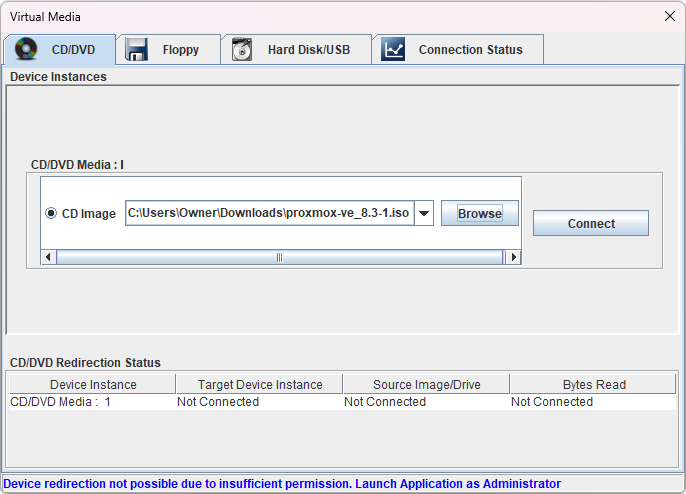
Ensure the media is connected:
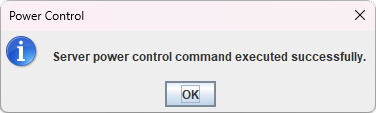
4. Boot Configuration
Reboot the server through IPMI:
Enter BIOS and select the virtual CD/DVD as boot device:
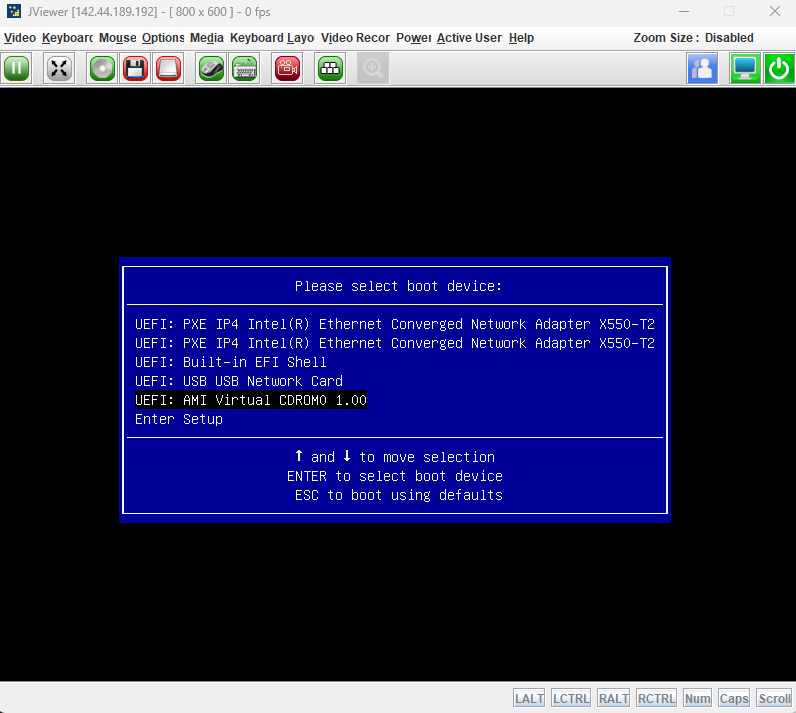
Boot Device Selection
Some KVM implementations will have an option to select the next boot device ahead of time, but this isn't always available. You may need to enter BIOS manually.
Installation Process
1. Initial Setup
Boot from the Proxmox VE ISO and select "Install Proxmox VE": 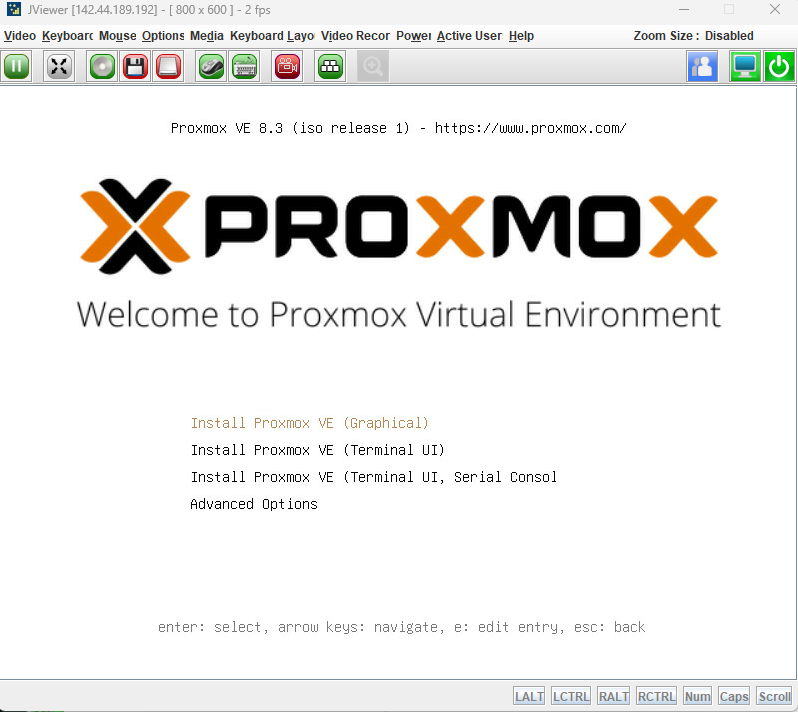
Follow the initial prompts:
- Accept the EULA
- Select target disk
- Set location and timezone
- Create root password
2. Network Configuration (OVH-Specific)
Critical Step
This step requires specific OVH network information. Incorrect configuration can result in loss of access to your server.
Identify the Correct Network Interface
You'll see this network configuration screen: 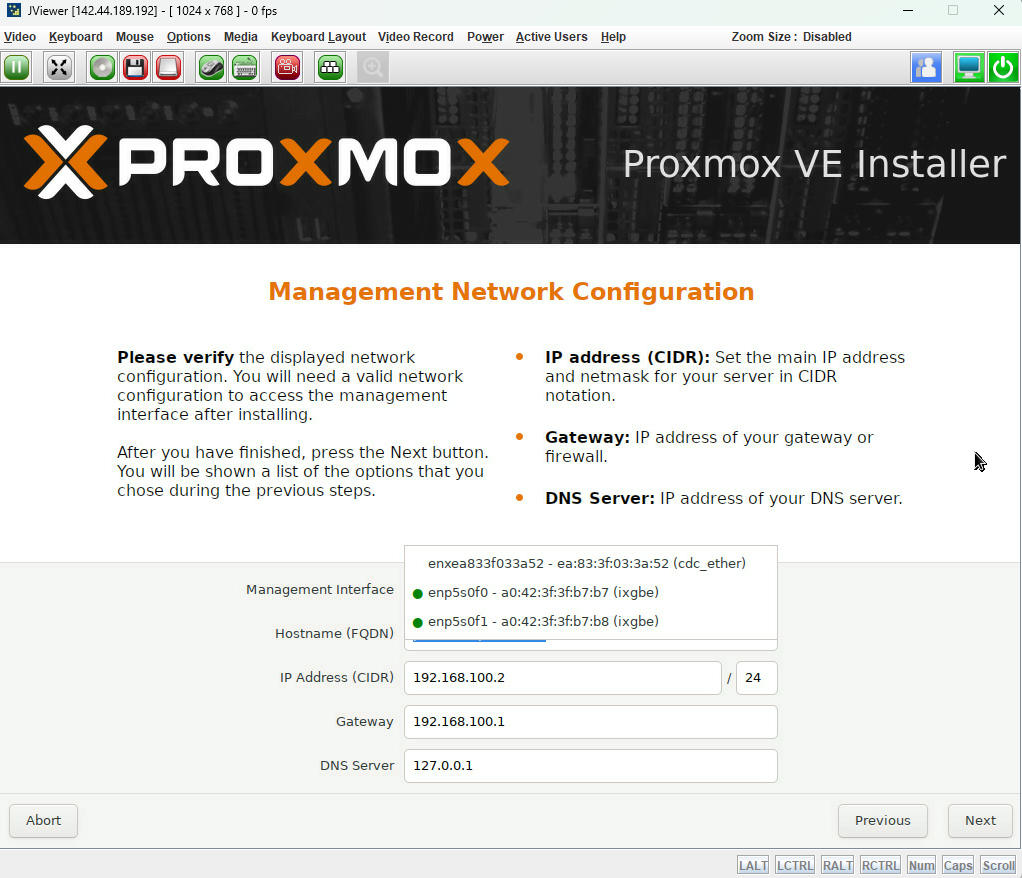
To configure it correctly:
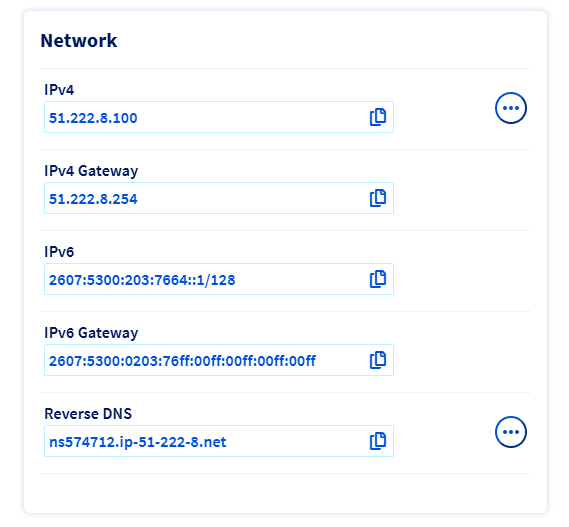
In OVH Manager, locate your server's network information:
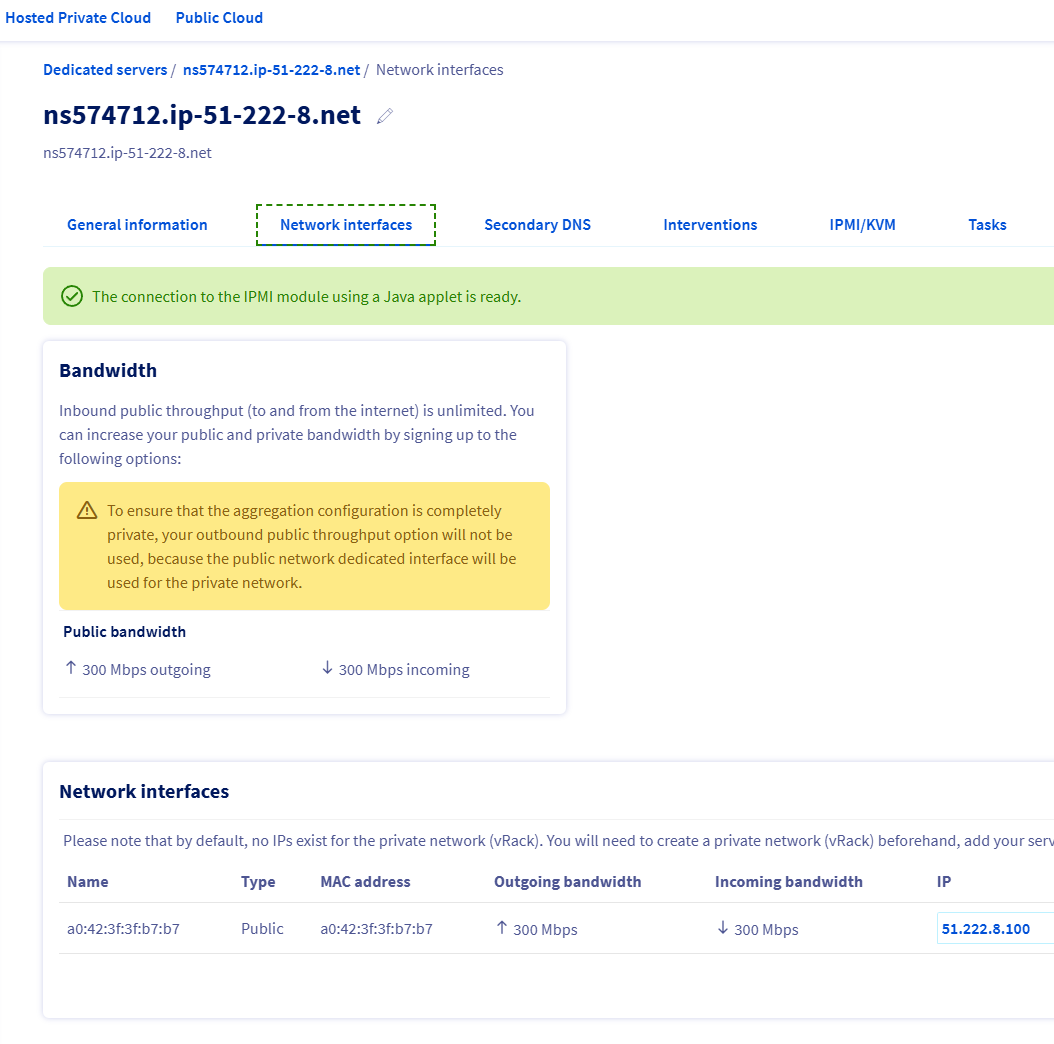
Note the active interface and its configuration:
Configure Management Network
Use the information from OVH Manager to configure your management interface:
Required Information:
- Hostname: proxmox.yourdomain.com
- IP Address: Your main IP
- Netmask: 255.255.255.255 (OVH typically uses /32)
- Gateway: Your gateway IP
- DNS Server: 213.186.33.99 (OVH DNS)
Enter these details in the network configuration screen: 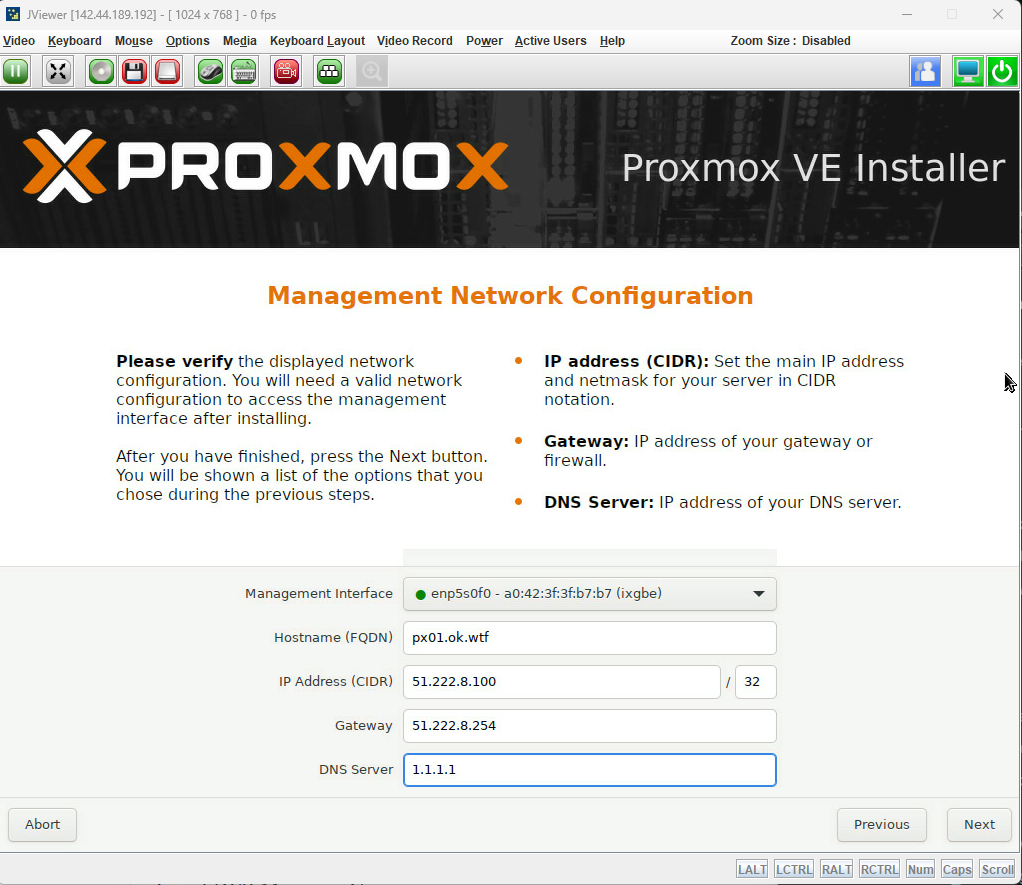
3. Complete Installation
Monitor the installation progress: 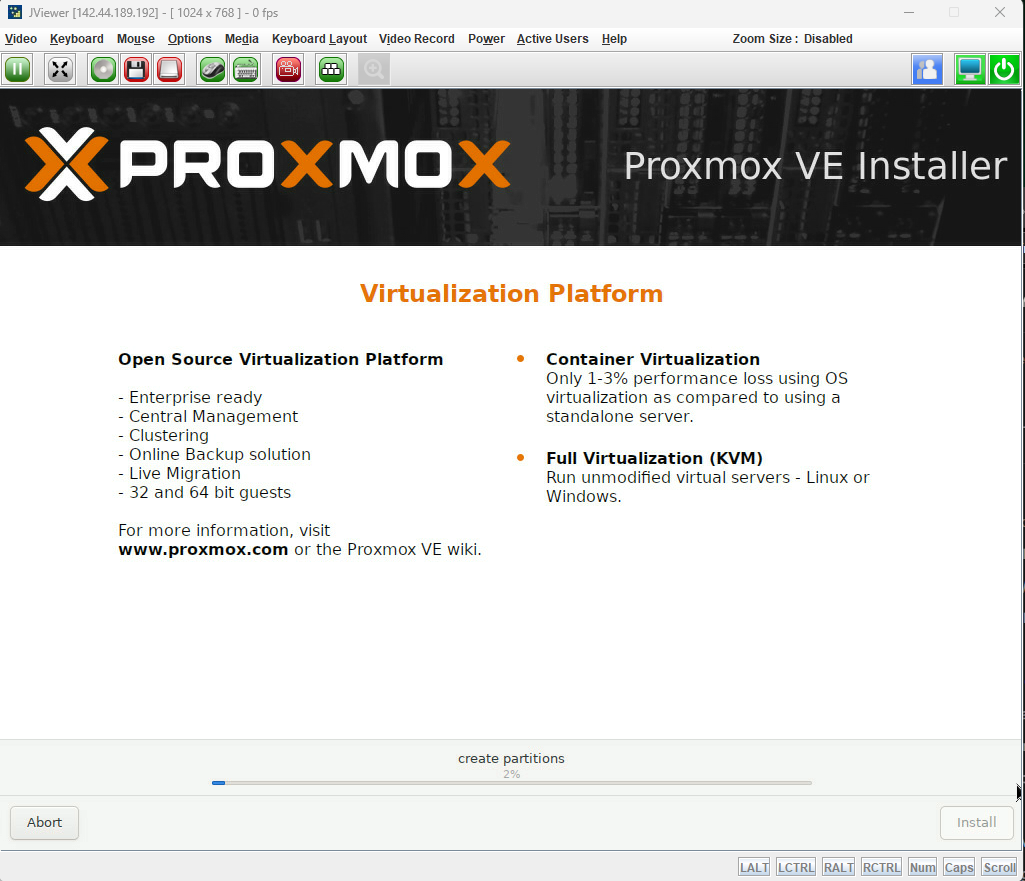
Wait for completion: 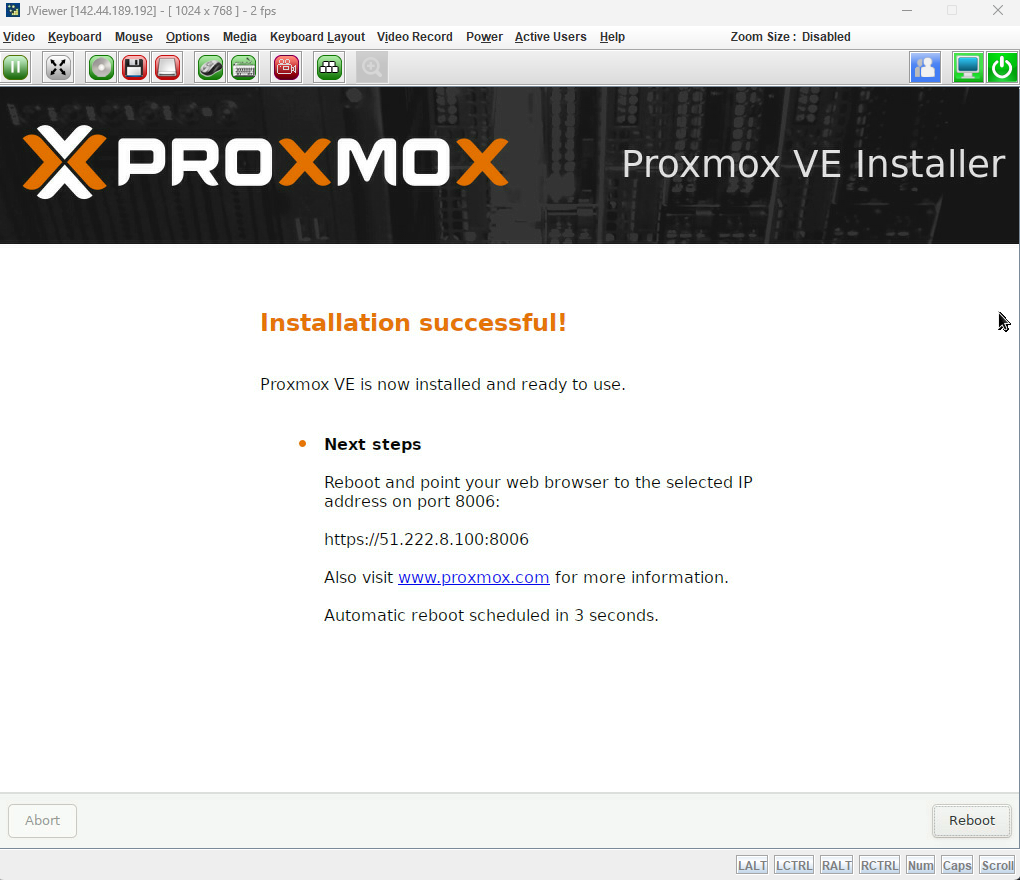
Post-Installation Steps
1. Disable Rescue Mode
Important
Your server will boot to rescue mode unless disabled in OVH Manager!
Access OVH Manager:
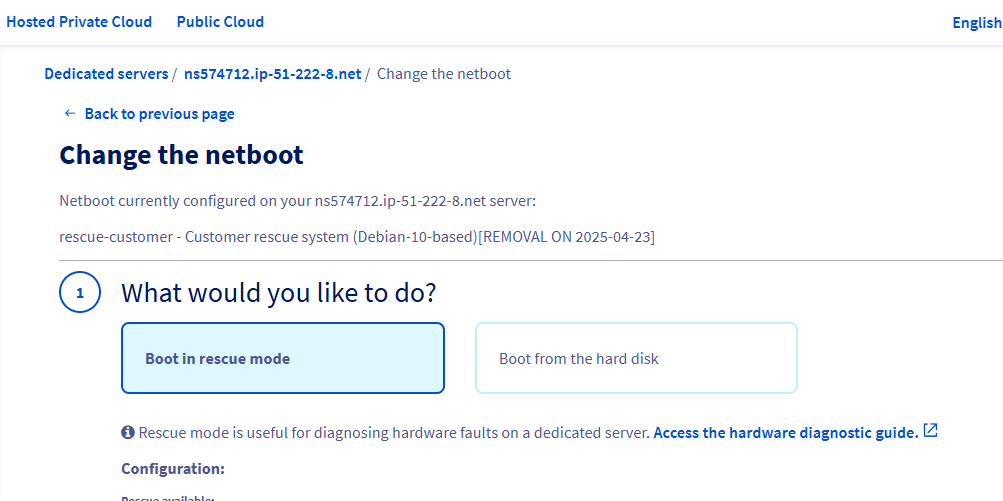
Enable "Boot from hard disk":

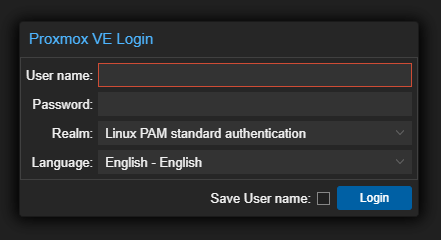
2. Access Proxmox Web Interface
Open your browser and navigate to:
https://your-server-ip:8006Log in with root credentials:
Next Steps
Proceed to Initial Configuration