
Network Configuration
Overview
Before creating the firewall VM, we need to configure the network interfaces properly. This guide will walk you through setting up a separate network bridge for your LAN traffic.
Network Architecture
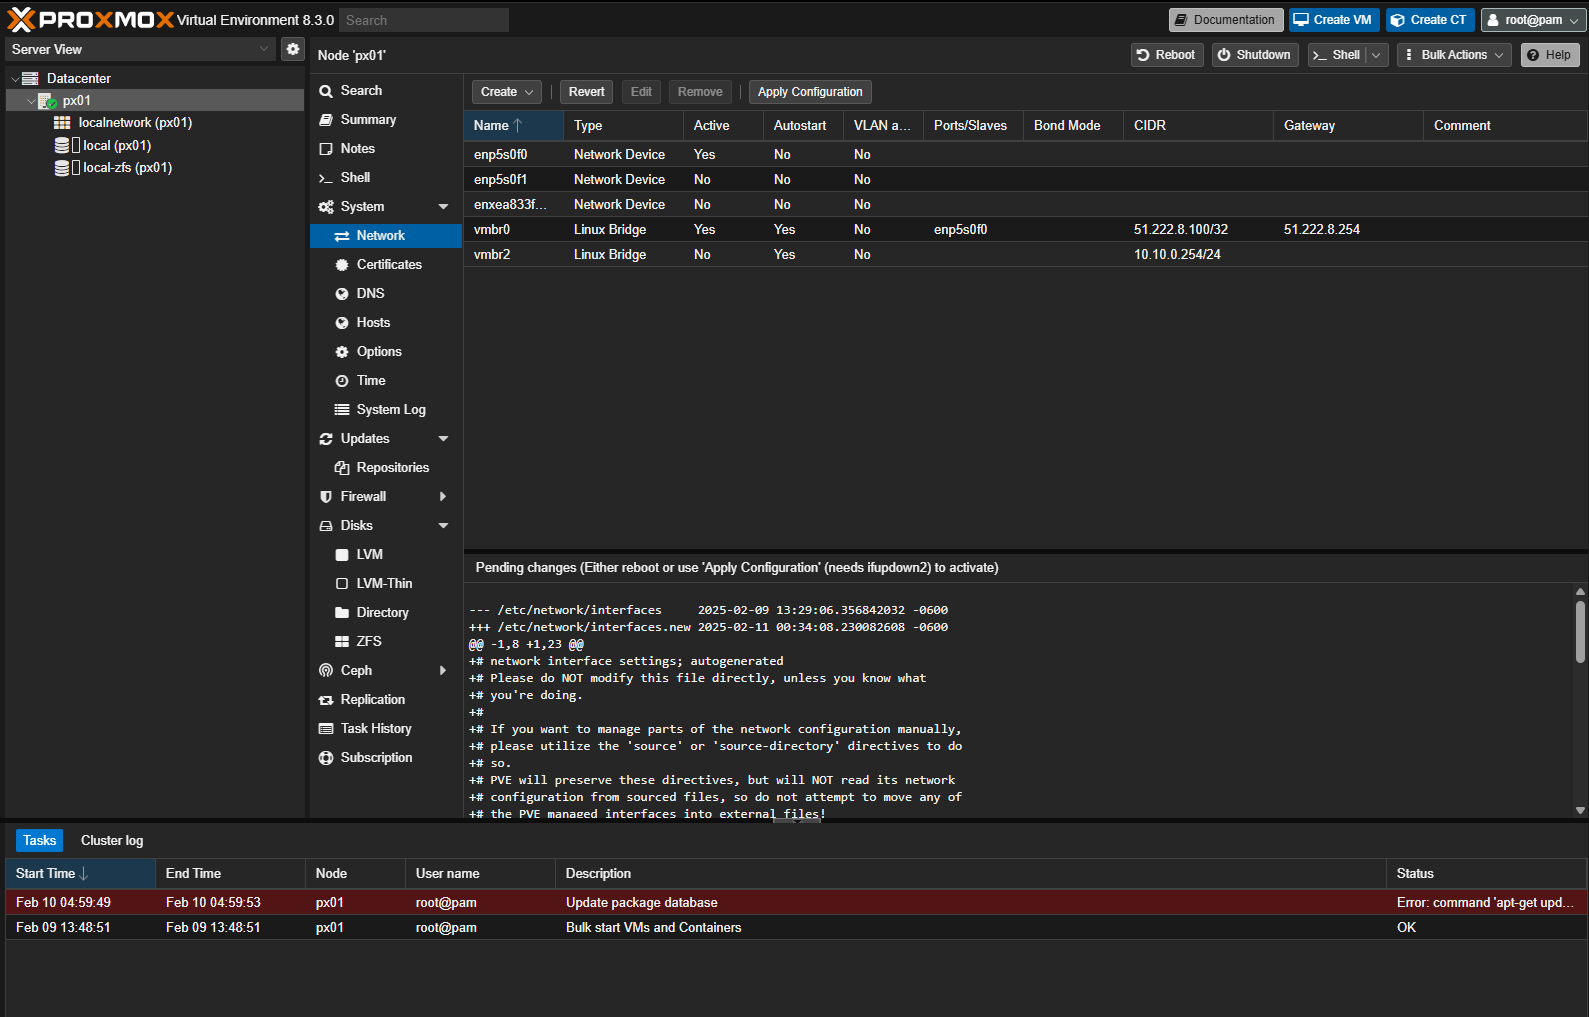
Management Network (vmbr0)
Do Not Modify
The vmbr0 interface is your default management network bridge, configured during installation. This interface should not be modified as it provides:
- Management access to Proxmox web interface
- WAN connectivity for your environment
- Default route to the internet

Creating the LAN Bridge
Since vmbr0 handles WAN traffic, we need a separate bridge for LAN connectivity. This bridge will:
- Connect your firewall's LAN interface
- Provide network access for your virtual machines
- Create an isolated internal network
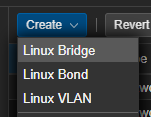
Step 1: Initialize Bridge Creation
Click the "Create" button in the network interface section:
Step 2: Configure Bridge Settings
Bridge Configuration
- Name: We use
vmbr2in this guide (you can choose a different name if needed) - IPv4/CIDR: Set your desired LAN subnet IP address
- This will be the Proxmox host's IP on the LAN network
- Choose an IP that won't conflict with your firewall's LAN IP
- Leave other settings at their defaults

Important
Do not configure a gateway on this bridge. Your management network (vmbr0) must remain the default route to maintain web interface access.
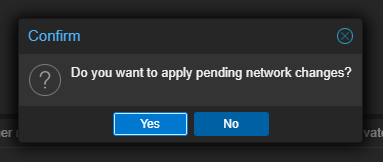
Step 3: Apply Configuration
After creating the bridge, you must apply the changes:
- Review the pending changes carefully
- Click "Apply Configuration"
A confirmation dialog will appear:
Network Bridge Usage
Your new bridge will be used for:
- OPNsense firewall LAN interface
- Virtual machine network connectivity
- Internal network communication
Next Steps
Once your network bridges are configured, you can proceed with creating and configuring your firewall VM.