
OPNSense Installation
Installation Steps
Step 1: Access the Installer
When your VM boots from the ISO, you'll see the login prompt:
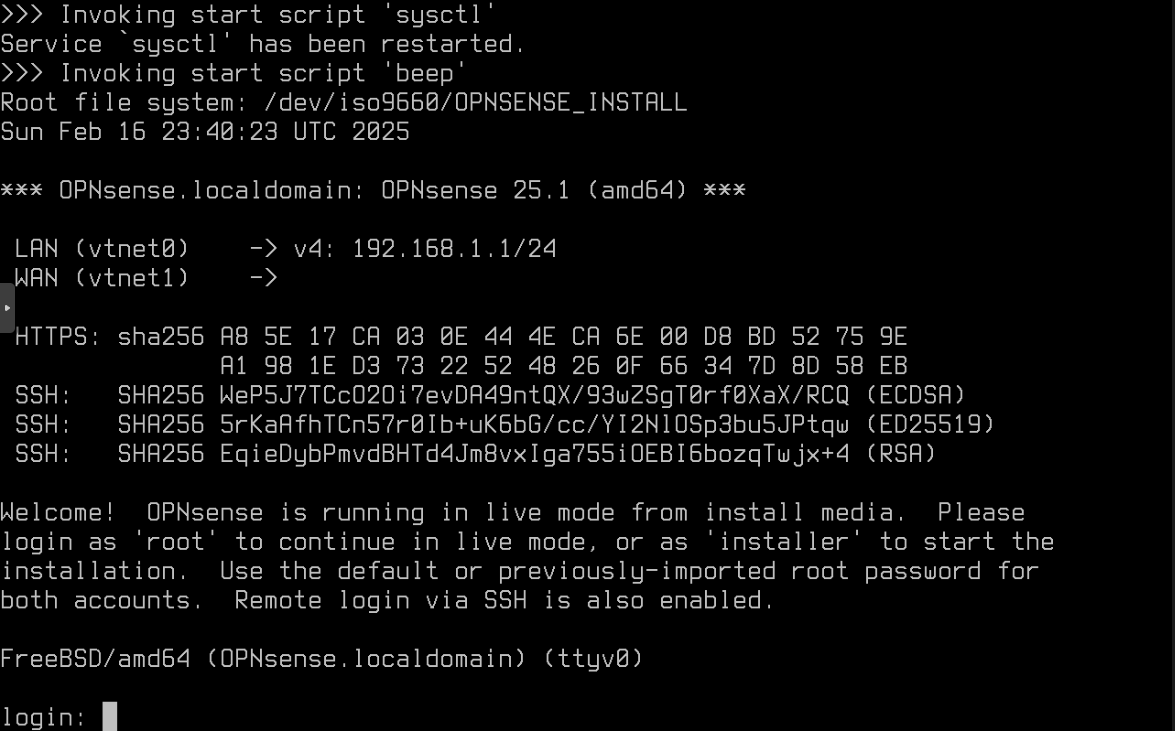
Log in with the default credentials:
- Username:
installer - Password:
opnsense
Step 2: Select System Settings
You'll be presented with the FreeBSD keymap selection:
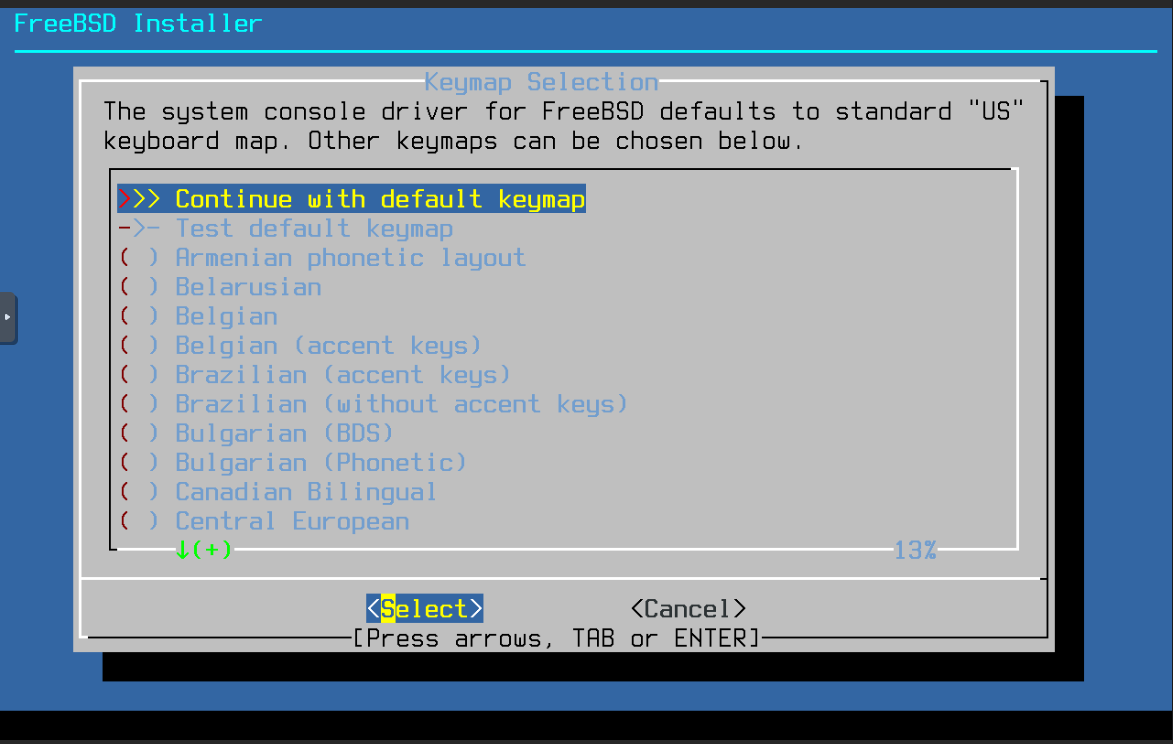
TIP
The default keymap is usually fine for most installations. Press Enter to continue if you're using a standard US keyboard.
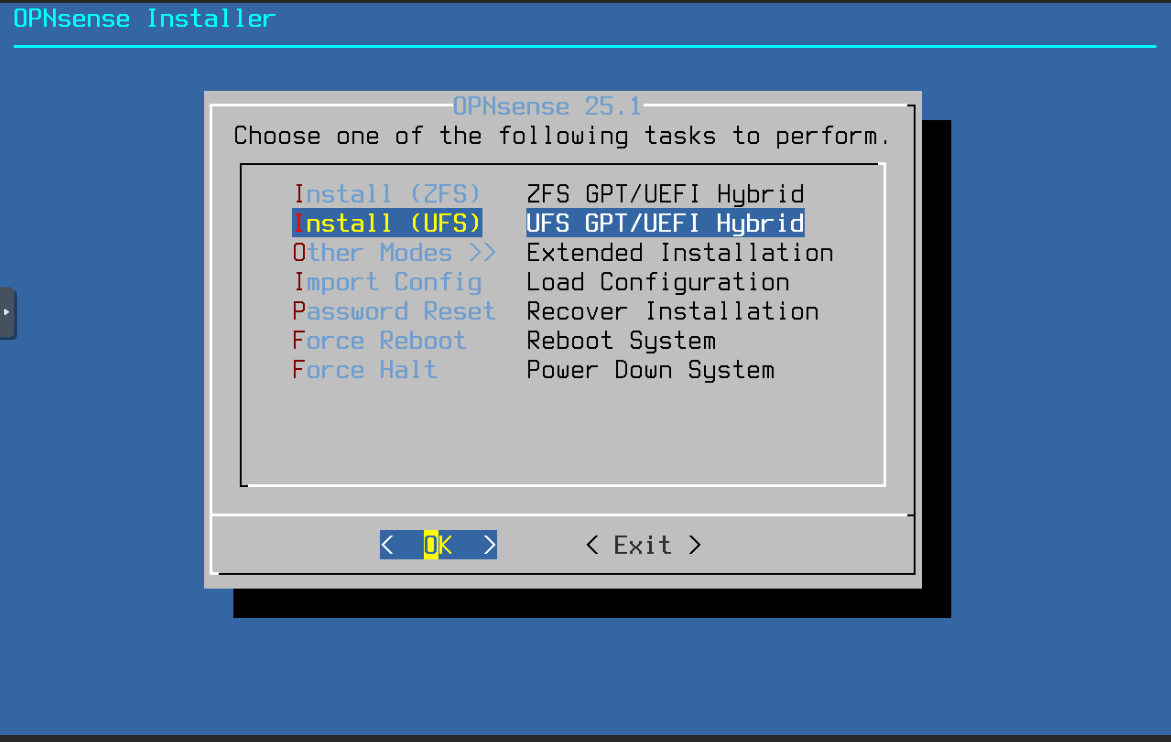
Step 3: Choose Filesystem
Important Note
Your filesystem choice should complement your Proxmox storage configuration:
- If your Proxmox datastore uses ZFS → Consider using UFS for OPNSense
- If your Proxmox uses another filesystem → ZFS is a good default choice for OPNSense
Select your preferred filesystem option:
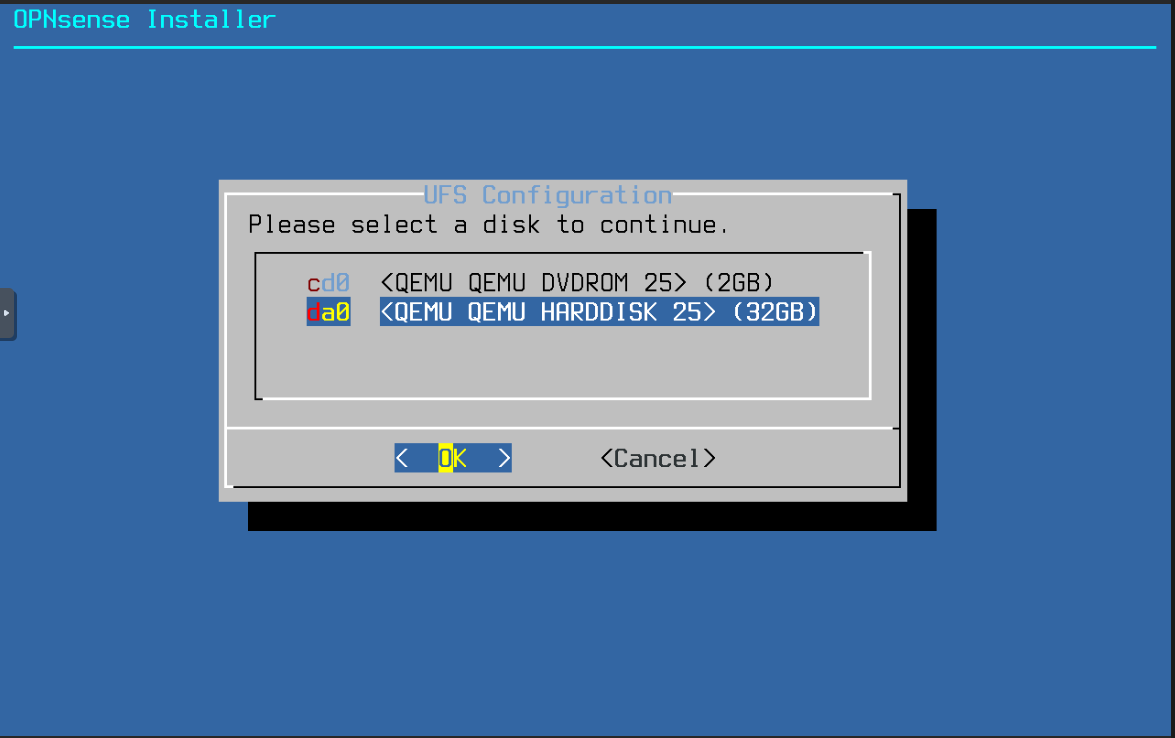
Step 4: Select Installation Disk
Choose the virtual disk you created during VM setup:
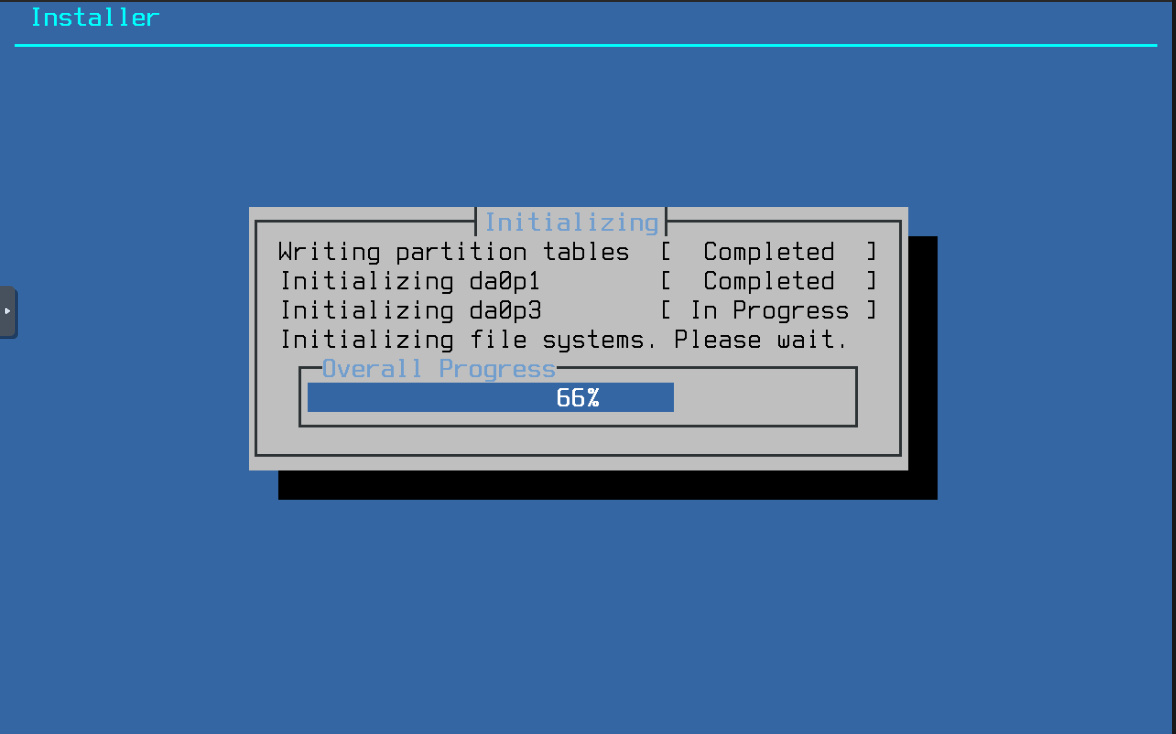
Step 5: Installation Process
The system will now install OPNSense to your virtual disk. This process typically takes a few minutes:
Step 6: Set Root Password
Security Note
Choose a strong password! This will be your primary administrative access credential.
When prompted, set your root password:
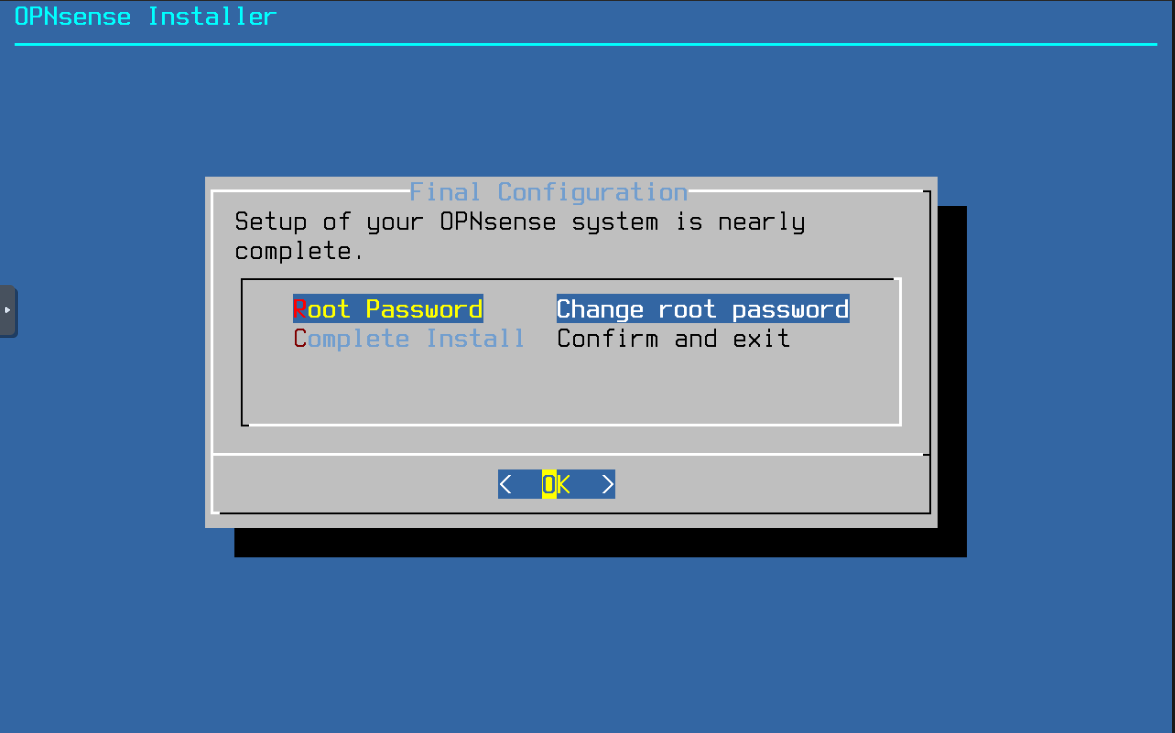
Step 7: Complete Installation
- Click "Complete Install" when all steps are finished:

- Choose "Reboot now" to start your new firewall:
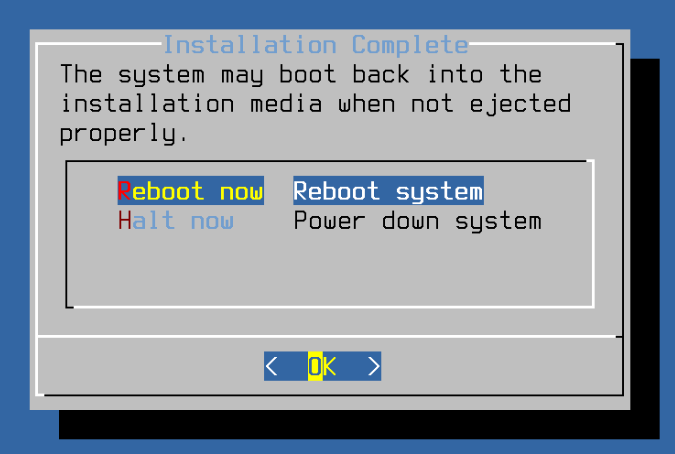
- The system will initiate the reboot sequence:
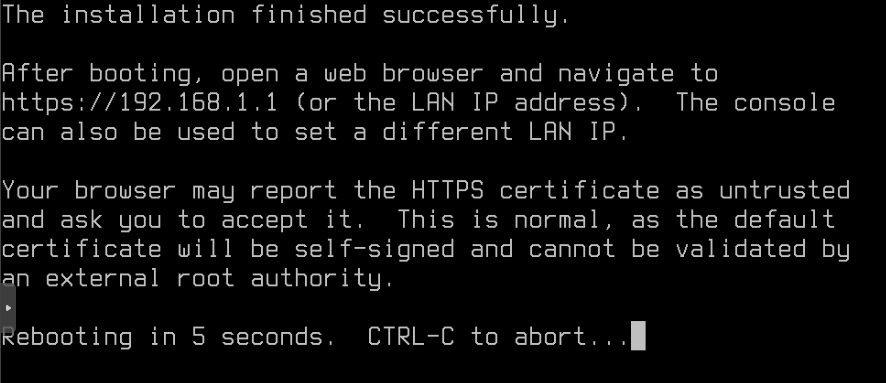
Next Steps
After the system reboots:
- The firewall will start with default settings
- Proceed to the Initial Configuration guide to set up your network interfaces
- Configure your WAN and LAN settings